
The craft of custom lip balm creation offers a unique opportunity to blend creativity with practicality, allowing individuals to design products that reflect personal tastes and preferences.
By understanding the essential ingredients and tools required, one can master a straightforward recipe that not only enhances lip hydration but also provides a canvas for flavor and scent experimentation.
As you ponder the possibilities of customization and thoughtful packaging, consider how these creations can transform simple gifts into cherished tokens of care and creativity. What might your first custom lip balm look like?
When creating custom lip balm, understanding the ingredients is essential for achieving the desired texture, effectiveness, and skin benefits. The primary components include a base, typically composed of beeswax, shea butter, or coconut oil, which provides structure and moisture.
Emollients like jojoba oil and sweet almond oil enhance spreadability and hydration. Additionally, antioxidants such as vitamin E can be incorporated for their skin-protective properties. Flavoring agents, including essential oils or natural flavorings, add sensory appeal but should be used judiciously to avoid irritation.
Finally, optional colorants can be included to create a visually appealing product. By carefully selecting and balancing these ingredients, one can formulate a lip balm that is not only nourishing but also enjoyable to use.
Crafting custom lip balm requires a selection of essential tools that facilitate the process and ensure consistent results. First, a double boiler or microwave-safe bowl is necessary for melting waxes and oils evenly. A kitchen scale is crucial for precise measurements, allowing for accurate ingredient ratios.
Additionally, a thermometer helps monitor temperatures, preventing overheating that can compromise ingredient integrity. Pouring pitchers with spouts are invaluable for transferring melted mixtures into containers without spills.
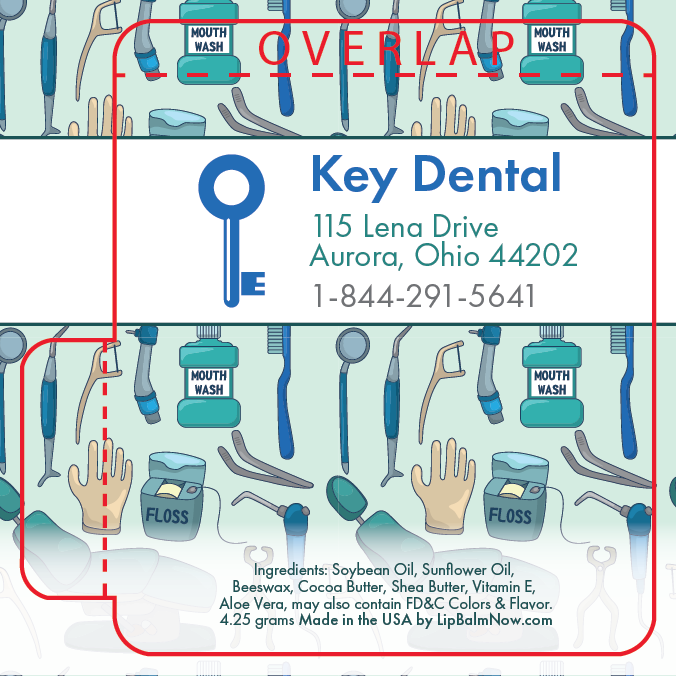
Lip balm tubes or tins are required for the final product, while labels can be added for personalization. Lastly, a stirring utensil, such as a spatula or spoon, ensures thorough mixing of ingredients. These tools create a streamlined and efficient lip balm-making experience.
Selecting the right flavors and scents is a crucial step in custom lip balm creation, as it directly influences the overall appeal and enjoyment of the product. When choosing flavors, consider popular options such as mint, vanilla, and berry, which evoke pleasant associations and enhance the user experience.
Natural flavor extracts or essential oils can provide a richer, more authentic taste, while synthetic fragrances offer a wider variety of options.
It is essential to balance flavor intensity; overly strong flavors may overwhelm the senses, whereas too subtle flavors may go unnoticed. Additionally, consider the target audience's preferences and any potential allergens. Ultimately, the right combination of flavors and scents can elevate your lip balm, ensuring it is both enjoyable and memorable.
Creating a homemade lip balm involves a straightforward process that allows for customization based on personal preferences. To begin, gather the essential ingredients: 1 part beeswax, 1 part shea butter, and 2 parts carrier oil (like coconut or almond oil).
Melt the beeswax, shea butter, and carrier oil together in a double boiler until fully liquefied. Once melted, remove from heat and allow the mixture to cool slightly.
This is the ideal time to add your selected flavor or essential oil. Pour the mixture into lip balm containers or tubes and let it solidify completely. After cooling, your custom lip balm is ready to use. Enjoy the satisfaction of crafting a product tailored to your unique tastes!
How can you make your homemade lip balm stand out on the shelves or among gifts? Creative packaging plays a crucial role in enhancing your product's appeal. Consider using eco-friendly materials, such as biodegradable containers or recycled paper for labels, which resonate with environmentally conscious consumers.
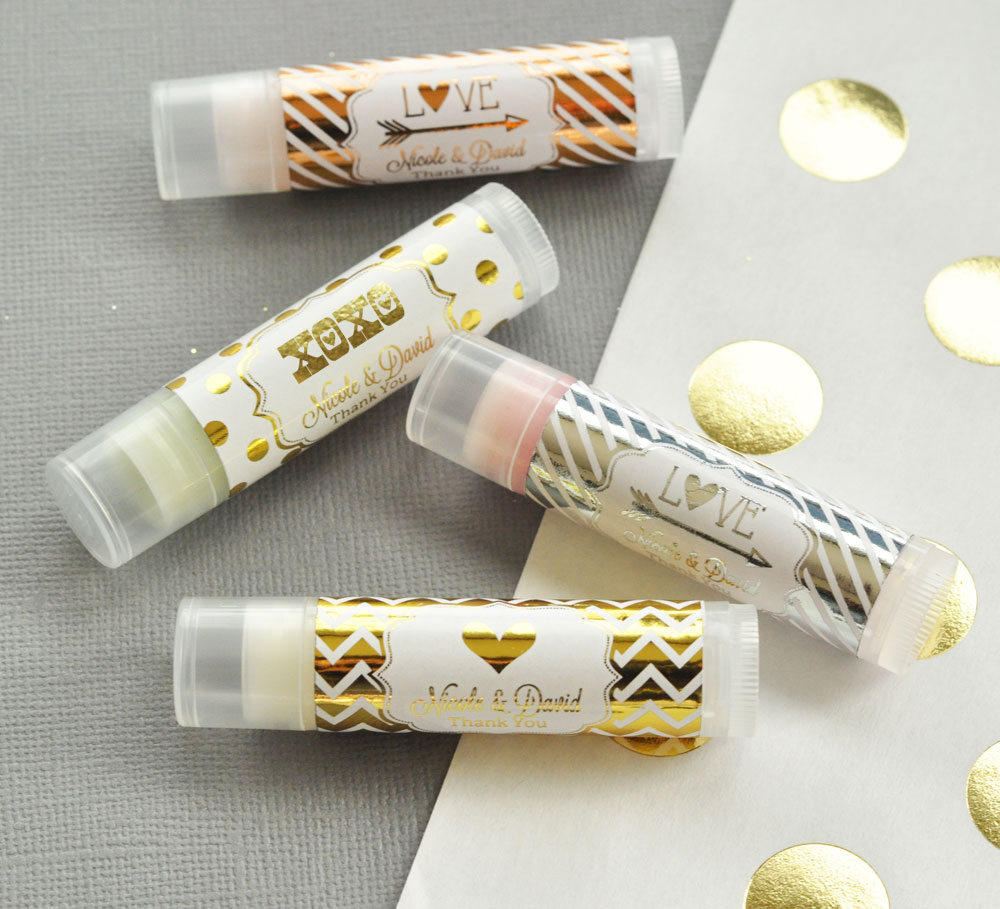
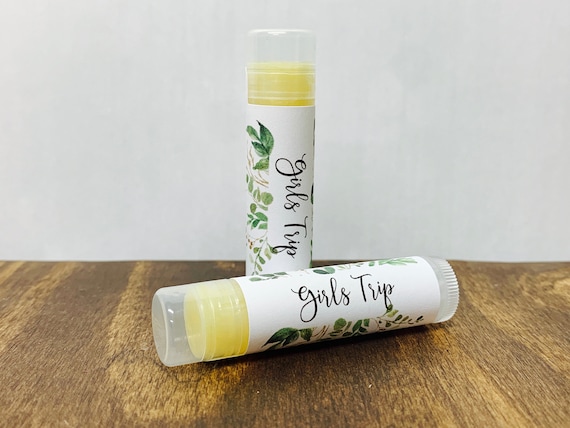
Customizing your lip balm tins or tubes with vibrant colors, artistic designs, or unique shapes can attract attention. Incorporating windowed packaging allows potential buyers to see the product inside, further enticing them.
Additionally, adding decorative elements like twine, fabric wraps, or washi tape can provide a personal touch. Finally, ensure that the branding is clear and memorable, reflecting the essence of your product and appealing to your target audience's preferences.
Personalization can elevate your homemade lip balm from a simple product to a cherished gift. Start by selecting unique flavors and scents that resonate with the recipient's preferences, such as lavender for relaxation or peppermint for an invigorating touch.
Consider adding personalized labels, incorporating names or meaningful quotes, to enhance the sentiment. Packaging also plays a crucial role; opt for eco-friendly materials or decorative tins that reflect the recipient's style. Include a thoughtful note explaining the ingredients and their benefits, making your gift more engaging.
Finally, consider creating themed sets, such as seasonal collections, to cater to various occasions. These thoughtful touches will not only showcase your creativity but also make the gift feel special and tailored to the recipient.
The shelf life of custom lip balm products typically ranges from six months to two years, depending on the ingredients used and storage conditions. Natural formulations with fewer preservatives may have a shorter shelf life, while those containing synthetic preservatives can last longer. To ensure optimal quality, it is advisable to store lip balms in a cool, dry place and to check for any changes in texture, scent, or color before use.
If your lip balm has turned out too hard, it can be remedied by gently reheating the mixture. Place the balm in a microwave-safe container and heat in short intervals, stirring frequently, until it reaches a softer consistency. Alternatively, you can add a small amount of carrier oil, such as coconut or olive oil, to achieve the desired texture. Ensure thorough mixing before allowing it to cool and solidify again.
When formulating lip balm, it is crucial to be aware of potential allergens. Common allergens to avoid include fragrance, essential oils (such as peppermint or citrus), and certain plant-based ingredients (like shea butter or coconut oil) that may provoke reactions in sensitive individuals. Additionally, synthetic additives, such as certain preservatives or colorants, can also trigger allergies. Conducting patch tests and thoroughly researching ingredient safety is essential for creating a hypoallergenic product.